 By
By 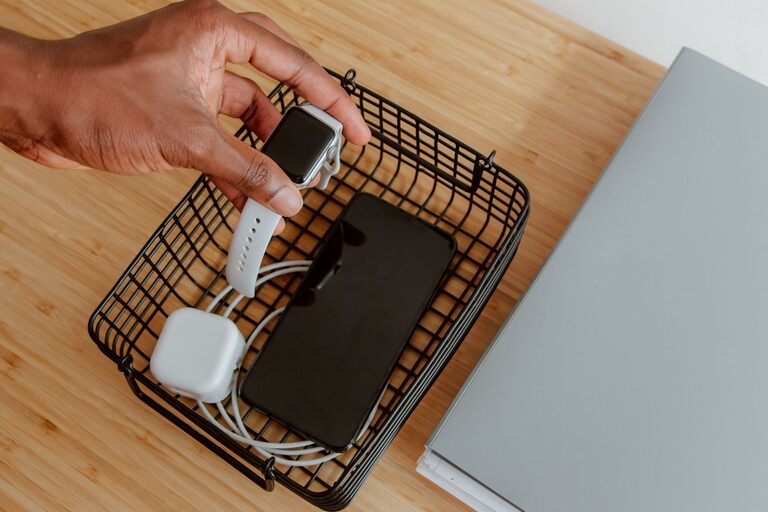
Setting up a dedicated charging station for your devices can simplify your daily routine and help keep your space neat and organized. With so many gadgets like smartphones, tablets, smartwatches, and wireless earbuds, having one central spot to power them all up is both practical and efficient.
In this guide, we’ll walk you through everything you need to know to create a well-organized charging station that fits your lifestyle and space.
Why Create a Charging Station?
Before diving into setup details, it’s helpful to understand the benefits:
– Reduces clutter: Instead of multiple cords and chargers scattered around, all devices have one home.
– Saves time: No need to hunt for chargers or outlets; everything is ready in one spot.
– Protects your devices: A dedicated area can help prevent cables getting tangled or devices being damaged.
– Improves aesthetics: A tidy charging station can blend seamlessly into your room or workspace.
Step 1: Choose the Right Location
Selecting the right location is key to your charging station’s success.
Consider These Factors:
– Accessibility: Pick a spot you visit often, such as your desk, living room side table, or kitchen counter.
– Power Source: Ensure there is a nearby electrical outlet or consider using a power strip with surge protection.
– Safety: Avoid placing the station near water sources or in direct sunlight.
– Space: Look for enough surface area to accommodate chargers and devices comfortably.
Step 2: Select Your Charging Equipment
Choosing the right chargers and cables helps your station run smoothly.
Chargers to Include:
– Multi-port USB charger: This allows you to charge several devices simultaneously from one outlet.
– Wireless charging pad or stand: Ideal for smartphones and earbuds with wireless charging capabilities.
– Charging docks: For devices like smartwatches or tablets that have specific charging needs.
– Power strip with surge protection: To safely plug multiple chargers into a single outlet.
Cables and Accessories:
– Short, high-quality charging cables: These prevent excess cable slack and tangling.
– Cable organizers or clips: To keep cords neatly arranged.
– Labels: Consider labeling cables if multiple family members use the station.
Step 3: Organize Your Station
Good organization makes the charging station user-friendly and visually appealing.
Tips for Organization:
– Use containers or trays: Small bins or trays can hold chargers, cables, and devices.
– Cable management: Wrap cables neatly or use cable ties and clips to guide cables along a path.
– Vertical stands: Use stands or holders that allow devices to charge upright, saving space.
– Designate spots for each device: Create a routine by placing devices in the same spot every time.
Step 4: Set Up and Test
Now it’s time to assemble your charging station.
Assembly Steps:
- Plug your multi-port charger or power strip into the outlet.
- Connect all charging cables to the charger or dock.
- Arrange cables neatly with organizers or clips.
- Place containers, trays, or stands on the surface.
- Position each device on its designated spot.
- Test charging by plugging devices in and checking their charging status.
Step 5: Maintain Your Charging Station
Keeping your station tidy takes regular attention:
– Clean surfaces regularly: Dust and debris can accumulate.
– Check cables: Replace any frayed or damaged cords.
– Rearrange as needed: Adjust for new devices or changes in your routine.
– Unplug chargers when not in use: This can save energy and prolong charger life.
Bonus Tips
– Portable option: Create a mobile charging station with a power bank and a compact organizer for travel or flexible use.
– Decorate your station: Add a small plant, decorative tray, or photo frame to personalize your charging area.
– Safety first: Avoid overloading outlets and keep cables away from heat sources.
Conclusion
Setting up a charging station is a simple yet effective way to keep your devices powered and your space clutter-free. With a little planning and the right accessories, you can create a charging hub that fits your daily needs and keeps your devices ready to go.
Start by choosing the perfect spot, gather your chargers and cables, organize thoughtfully, and enjoy the convenience of having all your devices charged in one place. Happy charging!